How to Make the Perfect Blog Outline
Last Updated on
June 4, 2024
Published:
May 20, 2024

By Jayne Schultheis - Welcome to Blogging 101! Grab your pen and paper (who are we kidding ... smartphone or laptop). We're taking the first step in any successful piece of digital writing: a solid blog outline. Although these tips would be helpful in any content context, we're going to be looking at how to successfully craft an outline within the Rellify platform. Let's get started.
Why you should make a blog outline
Before you jump into anything, you should know the why behind blog outlines.
- It helps organize your thoughts. An outline, in any context, organizes a seamless, logical flow for the points you're trying to make.
- An outline keeps you focused on your main points and makes it easy to identify the information needed to flesh out those points. No veering off-topic.
- It saves time during the writing process. It will help the writers work efficiently — no effort wasted researching and crafting material that only will be cut before publication. By providing a clear roadmap to the writer, the editor or blog publisher greatly reduces the need to send a piece back for revision. In article after article, the editor — freed from the heavy lifting of restructuring a piece — will have an easier time maintaining a consistent structure, style, and brand voice.
- Last but not least, it will help readers trying to follow along. Similarly, it will help search engine bots to quickly assess an article and rate it highly for its tight structure.
Although it might seem like something that slows down your content creation pipeline, it's an extremely cost-effective step. Blog outlines are a perfect example of the saying: An ounce of prevention is worth a pound of cure.
How to make an expert blog outline in Rellify
Making a clear, concise outline is one of the keys to creating SEO-optimized, evergreen content that boosts your web traffic and bolsters your conversion rate.
That's why, in Rellify, we've made the process simple, and you never have to leave the platform itself.

In the "Brief" tab, navigate over to the "outline" section. On the far left, under "content strategy," you'll see all the words you've selected through your keyword research. On the right, you see that field titled "Outline." When you open the article, it will be blank. Clicking on the "Generate outline" button will generate an AI-created outline.
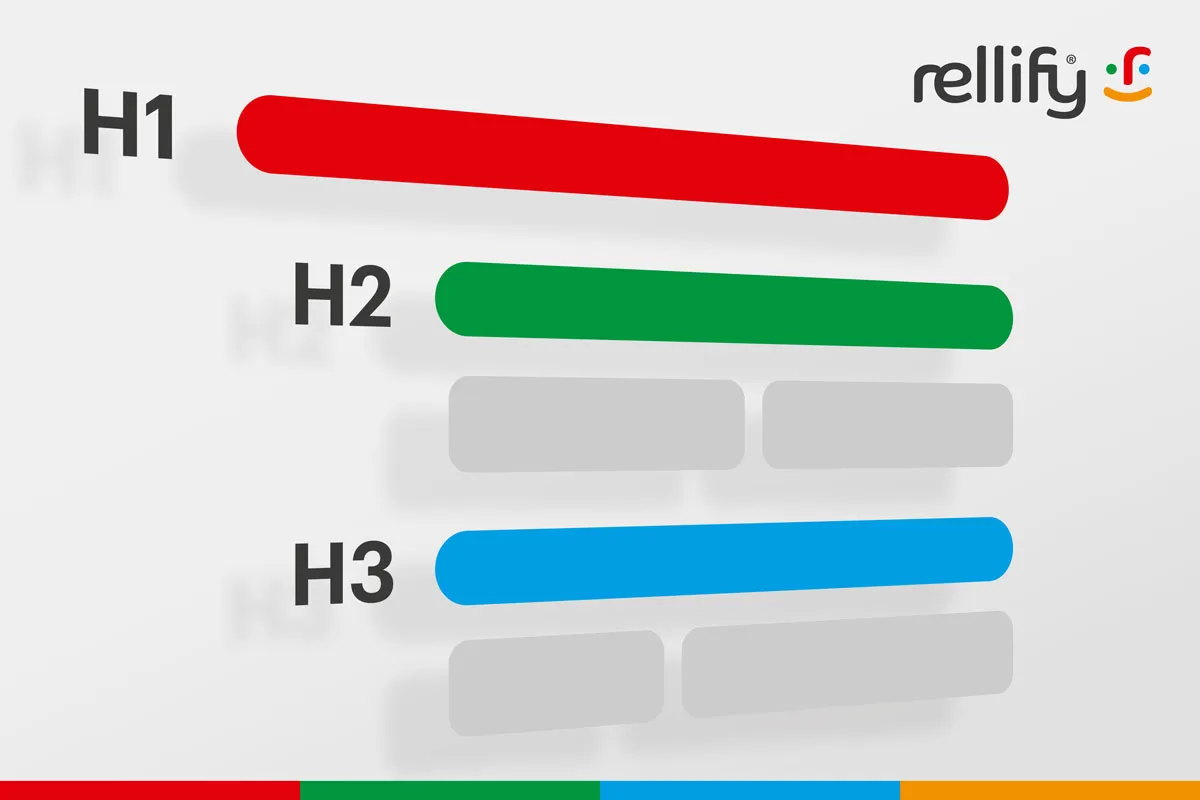
If you want to create the outline yourself, place your cursor into that empty field and click the small "+" button that appears. You can designate the hierarchy of your headlines by choosing H1 for the main title, H2 for subheads, and H3 for lower subheads. We don't recommend incorporating many H4 headings, as it tends to lower your content optimization.
Once you've created your headlines, you're ready to start adding keywords under each heading to further shape your blog article outline.
The highlighted green words are the ones that will have the most impact on your SEO, they should be the pillars of your content. When you're deciding how you want to structure your article, keep these words at the front of your mind.
Rellify's drag and drop feature makes adding keywords simple. Simply click on the word you want to include and drag it to the area underneath your chosen corresponding headline.
Once you have your outline expertly crafted to fulfill your content's goals, you can switch over to the "Write" tab, and hit "Paste outline from brief." This will duplicate your outline directly into the text box.
Pro tip for blogs: A good outline has a main point, which you state in the introduction. The rest of the subheadings in the body of your blog should be supporting evidence or expansion on your main point. Your conclusion section re-states your main point, and usually provides a call to action.
Using AI in your blog outline process
In the world of content marketing, heavy use of AI isn't everyone's cup of tea. But it might just be yours. Rellify let's you incorporate AI where and when you see fit. Within the Outline section, you'll notice to the right a "generate outline" button. This is one of Rellify's exclusive features that does all the heavy lifting for you. The AI-generated outline, based on our deep dive into web content, will also recommend where the keywords should be used. If the AI-generated outline doesn't suit your vision, you can make any personalization or tweaks you'd like. Delete subheads, add new ones. Click into a subhead and rewrite it, or drag and drop them into new positions. You also can add, delete or change the questions and keywords as a way of prompting the AI and generate a new outline.
Speaking of tweaks, if you think a particular subhead isn't quite right, click on it and press the AI-Generation icon to the right of it. It quickly show a few new headlines to choose from. Click on the one you like and it will pop into place.

Rellify can help
Rellify is the tool you need to make a great blog. But more than that, Rellify's processes make content creation simpler for you to navigate, and more effective.
Blog outlines are just part of the puzzle. Rellify also uses gap analysis to crawl the websites of your top competitors to figure out exactly what your content will need to climb the search engine rankings and knock them out of their top spots. With better keywords expertly matching user intent in search queries, your content is set to start raking in more organic traffic, boosting engagement, and promoting quality lead generation. You can even track your content's analytics directly within the Rellify platform.
No matter what your content goals are, Rellify can help. Contact a Rellify expert today for a quick demo to see how Rellify can increase your content marketing ROI by 10x.


